Configuration of temperature readings
The DS18B20 temperature sensor installed on the SVXLink Card operates in 1-wire bus and it's connected to the GPIO 04 of the Raspberry Pi board.
Edit the file /boot/config.txt with the command:
sudo nano /boot/config.txt
and add these lines at the end
#gpio 1-wire
dtoverlay=w1-gpio,gpiopin=4
<note tip>In case you have installed a DS18B20-PAR or DS18S20-PAR sensor, please note that the /boot/config.txt file must be completed as follows.
Indeed, this component operates in “parasite”. Its necessary power supply does not come from the usual source VDD (pin3), but directly from the DATA (pin2).
dtoverlay=w1-gpio-pullup,gpiopin=4,pullup=1
</note>
Restart your Raspberry Pi, then login.
sudo reboot
Temperature reading
Now the sensor installed on the card is going to be read. The directory '/ sys / bus / w1 / devices /' must contain a subdirectory composed of numbers and letters. The name of this directory is the serial number (Unique number in the world!) of your temperature sensor.
ls /sys/bus/w1/devices/
va renvoyer par exemple :
10-00080109d8c4 w1_bus_master1
To read the temperature value, we will read the content of a file wich is in that directory 10 -00080109d8c4 with the following command:
cat /sys/bus/w1/devices/10-00080109d8c4/w1_slave
These two lines will be displayed
2e 00 4b 46 ff ff 10 10 a1 : crc=a1 YES
2e 00 4b 46 ff ff 10 10 a1 t=22750
The second line indicates the temperature measured by the 1-wire component. In our case t = 22750. It means that the measured temperature is 22,75 ° C. It's indeed necessary to divide the integer value by 1000 to determine the real temperature.
Program for cyclic reading
To be able to observed the responsiveness of the temperature sensor, we offer this python test program. To use it, create a file then copy and paste the code inside it with your favorite editor.
sudo nano test-temperature.py
Dans le code recopié, pensez à remplacer le numéro de capteur (ici 10-00080109d8c4) par le vôtre. Vous trouvez ce numéro en lancant la commande ls /sys/bus/w1/devices/ Do not forget to replace the sensor serial number (In our case 10-00080109d8c4) with your sensor serial number. You'll get this number by running the command ls /sys/bus/w1/devices/
#!/usr/bin/env python
# -*- coding: utf-8 -*-

sensorids = ["10-00080109d8c4"]  #Indicate the serial number of your 18b20 here : ls /sys/bus/w1/devices/
for sensor in range(len(sensorids)):
        temperatures = []
        while True:
                        text = '';
                        while text.split("\n")[0].find("YES") == -1:
                                        tfile = open("/sys/bus/w1/devices/"+ sensorids[sensor] +"/w1_slave"                                       )
                                        text = tfile.read()
                                        tfile.close()

                        secondline = text.split("\n")[1]
                        temperaturedata = secondline.split(" ")[9]
                        temperature = float(temperaturedata[2:])/1000
                        print("temperature = %.3f °C" % temperature)
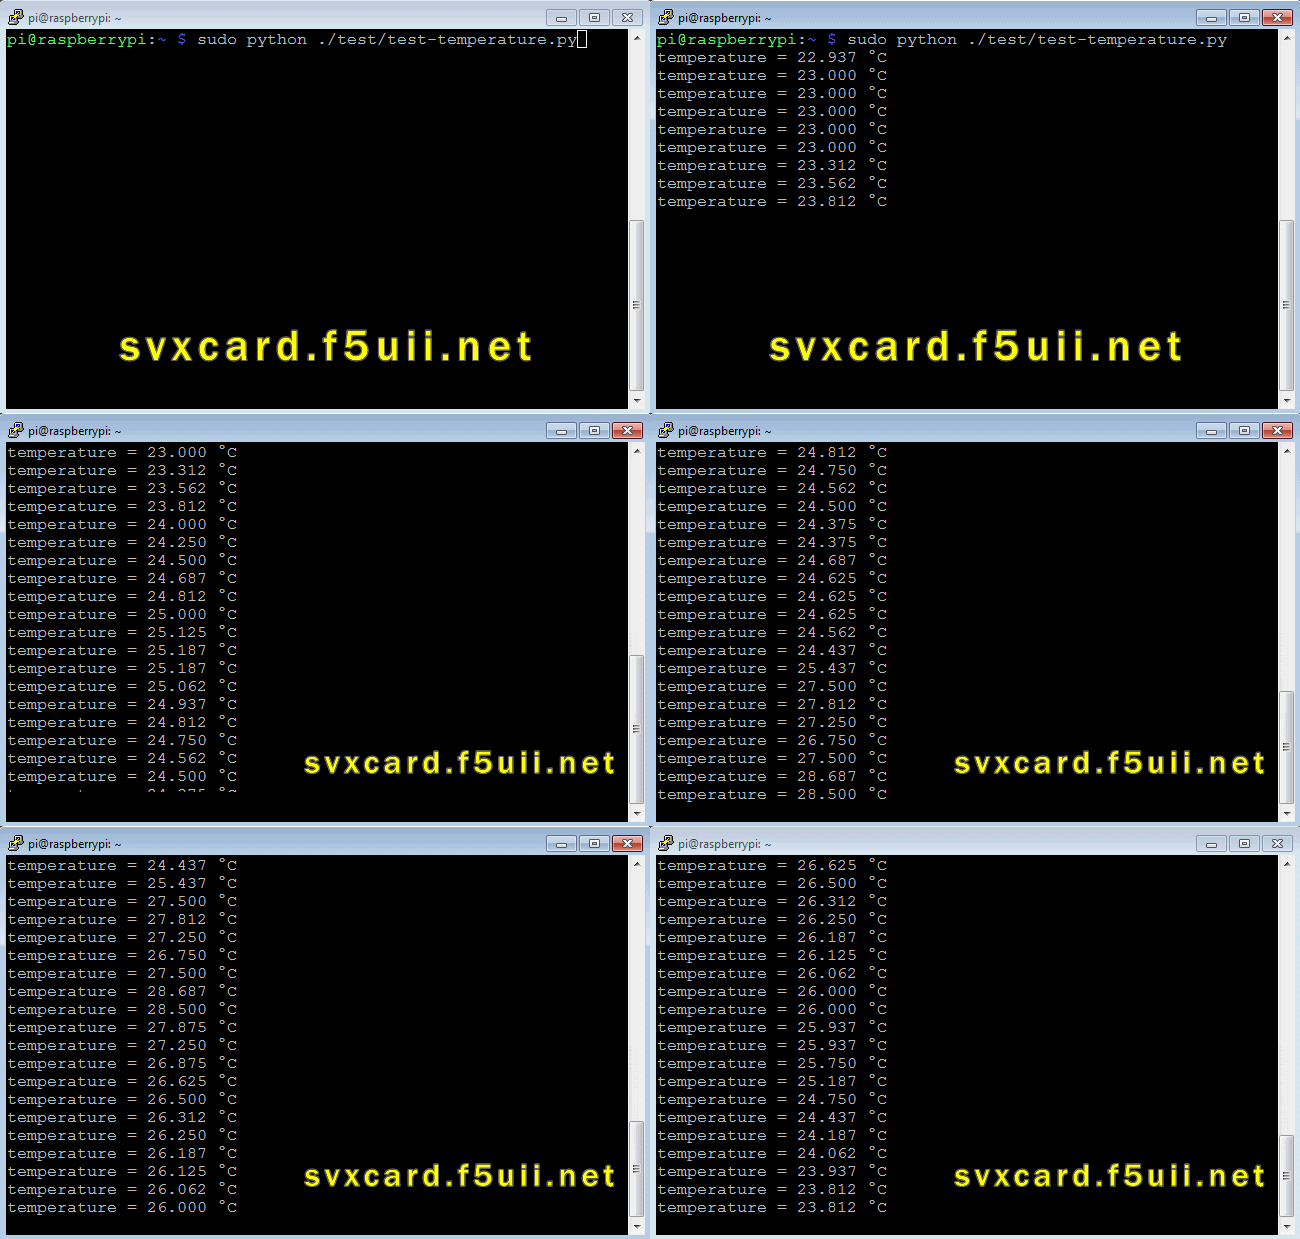
Run the program with the command:
python test-temperature.py
You will see this result

Reading temperature on repeater with DTMF
Interred to /usr/share/svxlink/events.d/local/Logic.tcl
#SEND DTMF CODE 26#
  if {$cmd == "26"} {
    puts "Reading temperature..."

foreach file [glob -nocomplain -directory /sys/bus/w1/devices/ */w1_slave] {
    set r [exec cat $file | grep t= | cut -f2 -d= ]
    set r [format {%0.1f} [expr {$r / 1000.0}]]
    lappend temps $r;
  }

set temp1 [lindex $temps 0];
set temp2 [lindex $temps 1];
set temp3 [lindex $temps 2];
puts "$temp1";
playMsg "svxcard/temperature" "temp1";
playNumber $temp1;
playMsg "WeatherStation" "degree";
puts "$temp2";
playMsg "svxcard/temperature" "temp2";
playNumber $temp2;
playMsg "WeatherStation" "degree";
puts "$temp3";
playMsg "svxcard/temperature" "temp3";
playNumber $temp3;
playMsg "WeatherStation" "degree";
    return 1
  }