Serial port configuration (optional fonction)
Disable the console mode
First, we must disable the console mode of the Raspberry-pi. Indeed, by default the serial port can be used if it's connected with a terminal device (Such as a Minitel for French people ![]() ).
).
- For a Raspbian Wheezy (version 7) edit the file with this command:
sudo nano /etc/inittab
T0:23:respawn:/sbin/getty -L ttyAMA0 115200 vt100
This line must be comment by adding # at the beginning of the line
#T0:23:respawn:/sbin/getty -L ttyAMA0 115200 vt100
- For a Raspbian Jessie (version 8) as /etc/initab doesn't exist, run this command to disable the “serial console service” at startup :
sudo systemctl disable serial-getty@ttyAMA0.service
File ''/boot/cmdline.txt''
Vous pouvez désactiver ce fonctionnement en éditant le fichier /boot/cmdline.txt At the Raspberry Pi startup, messages of this startup are sent to the serial port. It's better to disable this functionality so that the connected device on the serial port won't receive these messages. You can disable this functionality by editing the file /boot/cmdline.txt
sudo nano /boot/cmdline.txt
The default content of the file is this one :
dwc_otg.lpm_enable=0 console=ttyAMA0,115200 kgdboc=ttyAMA0,115200 console=tty1 root=/dev/mmcblk0p2 rootfstype=ext4 elevator=deadline dwc_otg.speed=1 rootwait
Remove the part that refer to the serial port ttyAMA0. The result should look like this
dwc_otg.lpm_enable=0 console=tty1 root=/dev/mmcblk0p2 rootfstype=ext4 elevator=deadline dwc_otg.speed=1 rootwait
"piserial" library installation
sudo apt-get install python-pip
sudo pip install pyserial
Functionality tests
![]() On the SVXLink Card version 1.0, the serial RS232 pins indications on the PCB are not correct. It means that :
On the SVXLink Card version 1.0, the serial RS232 pins indications on the PCB are not correct. It means that :
- pin TXD is the RXD but not TXD as written on PCB
- pin RXD is the TXD but not RXD as written on PCB
The following Python code is going to allow the verification with an oscilloscope that the signals are correctly generated
- test-serial.py
#!/usr/bin/python
import serial
import RPi.GPIO as GPIO
import os, time

GPIO.setmode(GPIO.BOARD)
port = serial.Serial("/dev/ttyAMA0", baudrate=9600, timeout=0.5)

while True:
    port.write('Un test !')
    rcv = port.read(10)
    print rcv
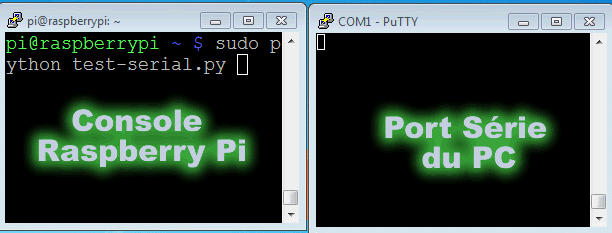
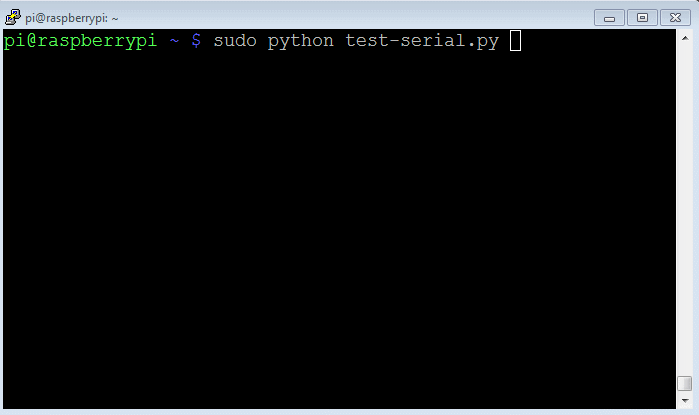
Start the program with this command :
sudo python test-serial.py
The waveform (measured between GND and TXD) looks like this.
 To verify at the same time the RX and TX functions, connect the 2 pins RXD and RXD together. And with the same code python, you are going to see on the display(screen) the data's received on RXD(echo). It's the data's transmitted by TXD.
You can also connect directly the serial port of the SVXLink card with the serial port of a PC.
The connection description of a port 9 points DB9 is the following.
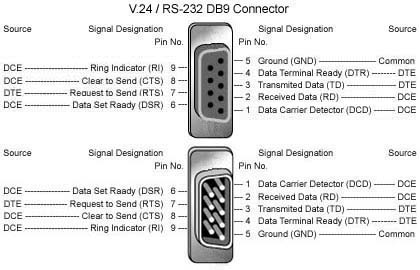
Connect the RXD on the TX of the PC (pin 3) and TXD on the RX of the PC (pin 2). Connect also the GND on the pin 7 of the PC. Here you see the two-way communication between the SVXCard card and the PC (COM 1 serial port)